As we forge on with this ambitious build, every installment showcases Carl B.’s broad range of skill sets, especially his ability to master electronics. Before we jump into today, if you missed any previous episodes for Carl’s 10-second turbo build, (or need a review), here are the links: part one, part two, part three, part four, part five, part six, part seven, part eight, and part nine. Each episode is a quick read, with lots of pictures, with episodes two and three featuring some cool videos.
Viewer Advisory: This build has some serious meat on the bones, as Carl has some crazy technical skills (especially with electronics), and he is going to tap into all of them to turn his 1977 Stingray into a 10-second quarter-mile monster!
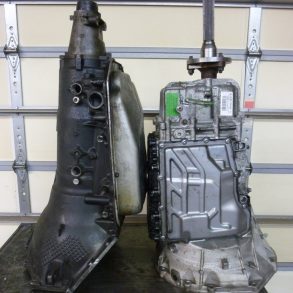
We have a project-packed episode today, so let’s get after it! Now that the body and chassis are together, Carl hopes they’ll stay that way for a long time. The original shifter was a 3-speed but mangled, so Carl adapted an OD shifter from an 85-92 Camaro/Firebird with a 700R4. It took some persuading, but now it shifts the 4l80E in the Vette. He also installed a line lock, and a Wilwood proportioning valve, and got the all brake lines plumbed in.
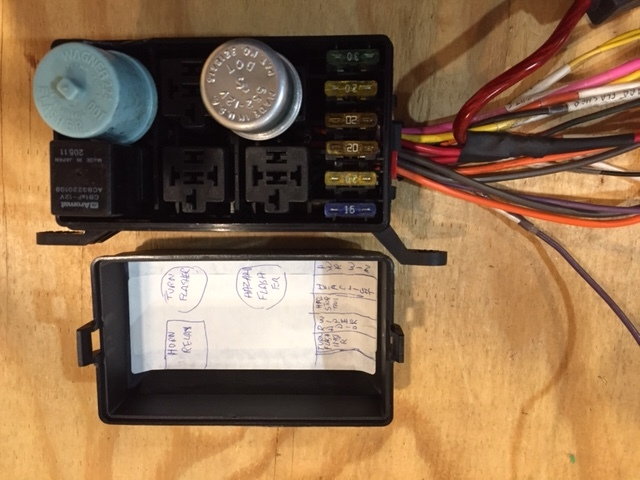
Next up, a new fuse box, and Carl says, “I managed to get the hazard and turn signal flashers to fit along with the new horn relay. Have room for 2 more relays.”
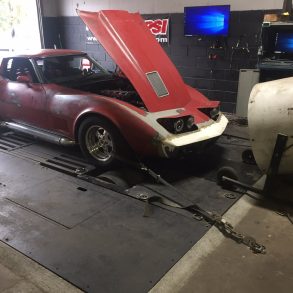
After finishing wiring up most of the new fusebox Carl fired it up! He notes it “started right up but had some engine surging. Couldn’t keep it on long, because my garage CO2 sensor wasn’t happy. Have to put in brake fluid and bleed the entire system, put the steering wheel back on the column, re-calibrate the computer to the throttle pedal, transfer the latest code to the transmission controller/body module, drop it off the jack stands and the car will hopefully move on its own for the first time in 20 years.”
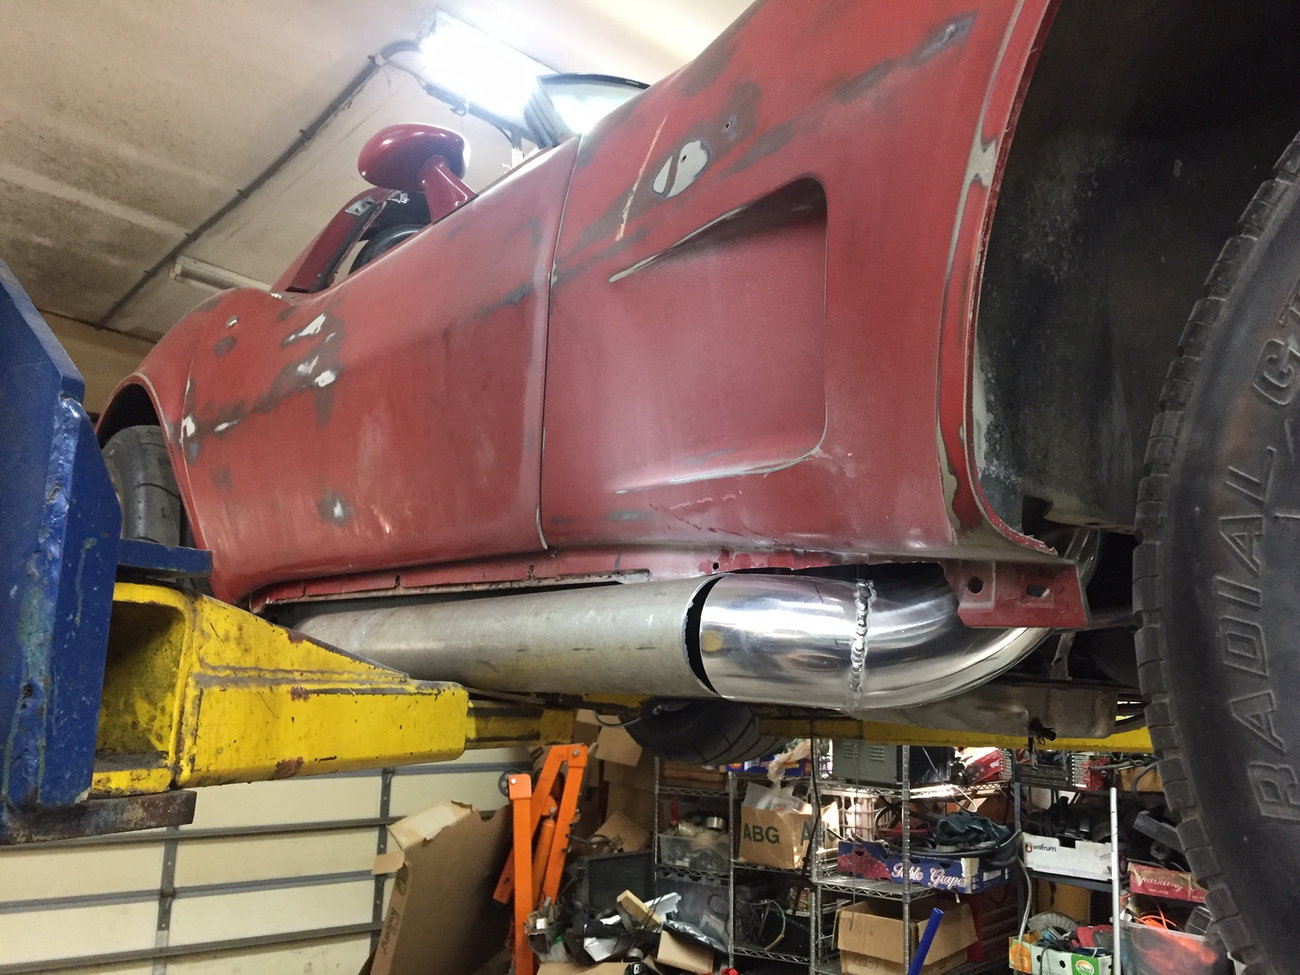
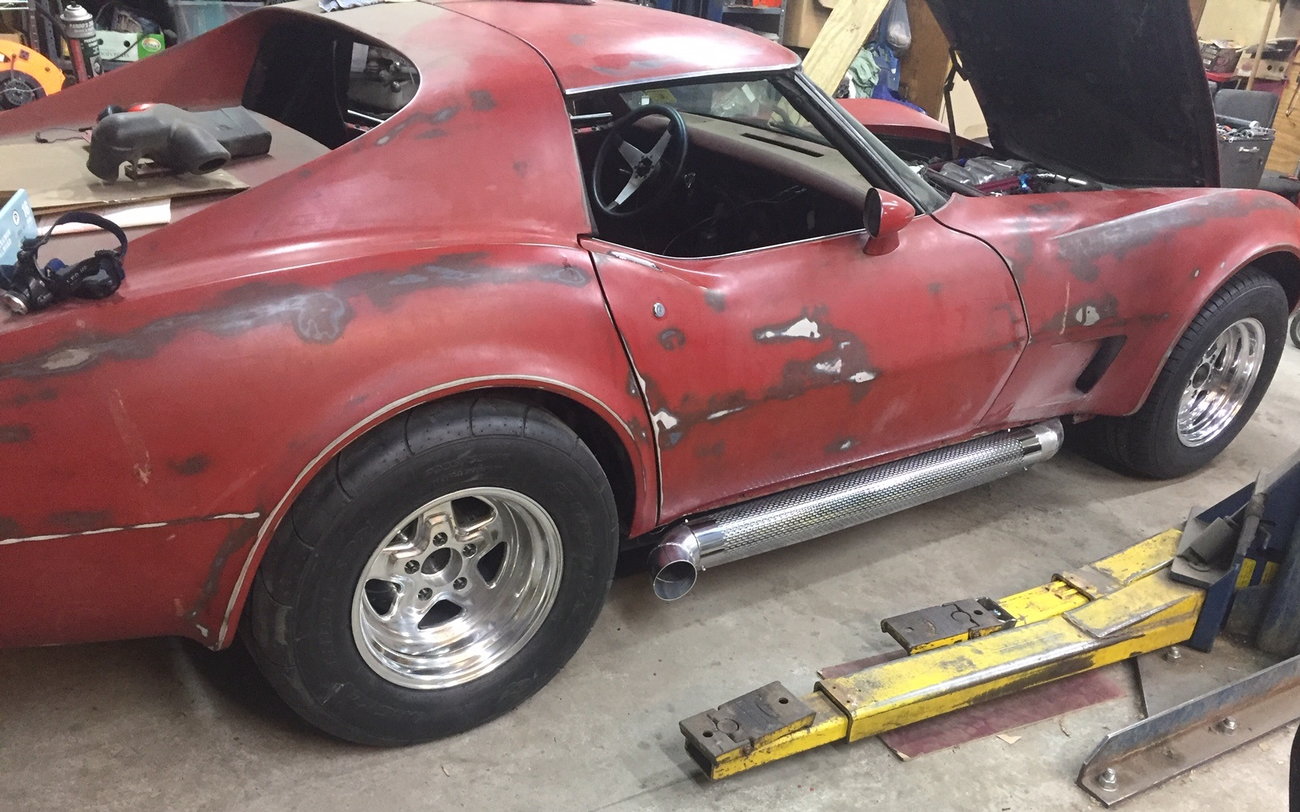
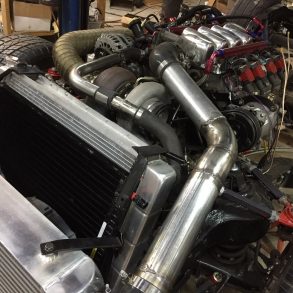
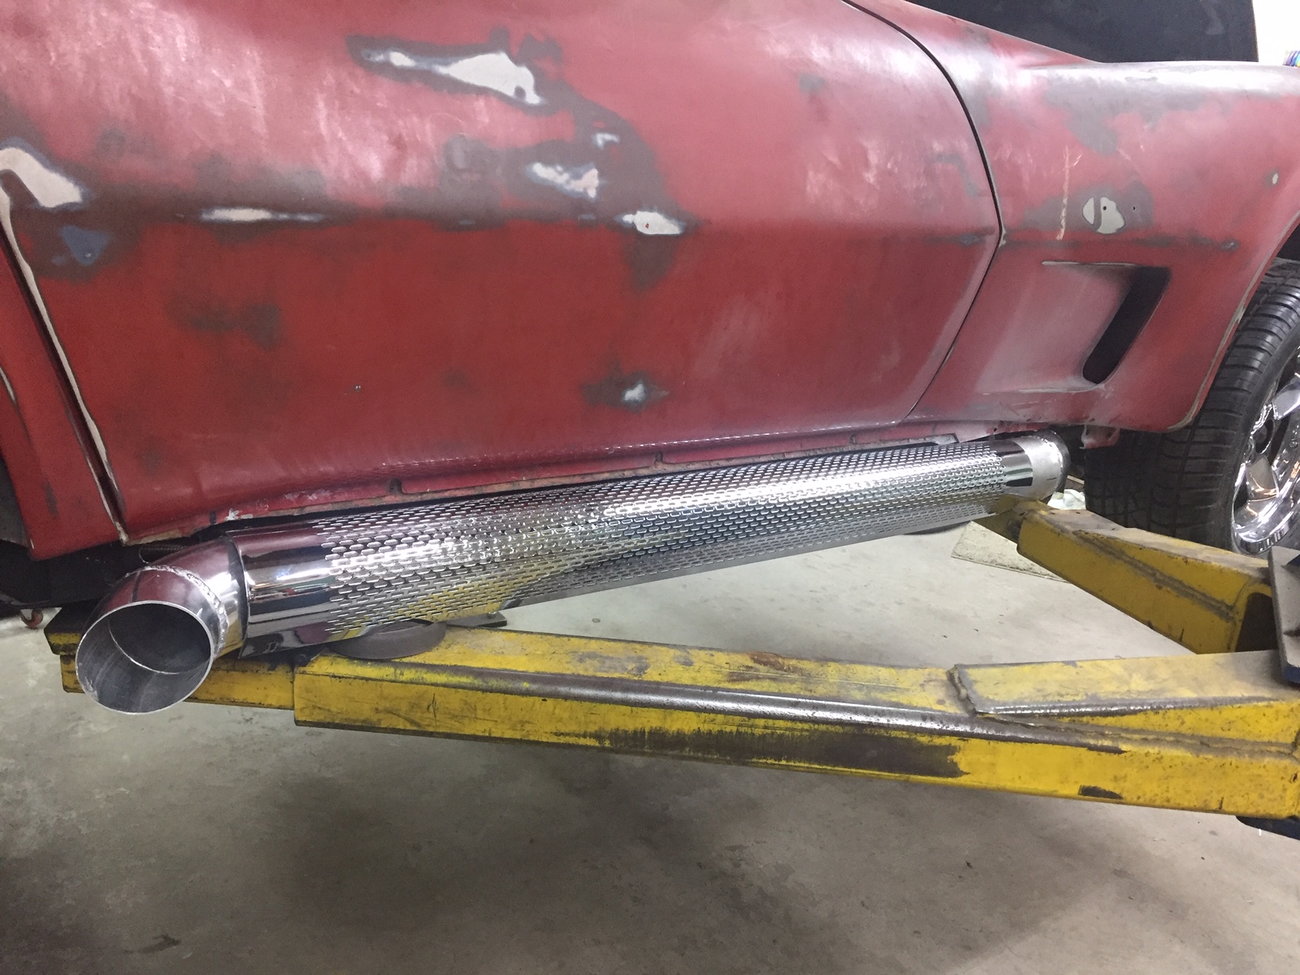
So much work! Now, onto the exhaust, where Carl remarks, “Only the passenger side will get an exhaust since it’s a single turbo car. I already had a 3.5″ stainless downpipe completed earlier, with a V band flange at the end. For the external part, I decided to go with a 4″ aluminum because 4″ gives me options for inserts if I find that it’s too loud. My Plymouth Neon exhaust was 4″ aluminum and was no longer being used, so I reused some of the tubing and all I needed was one 180 degree bend to complete the Vette exhaust.”
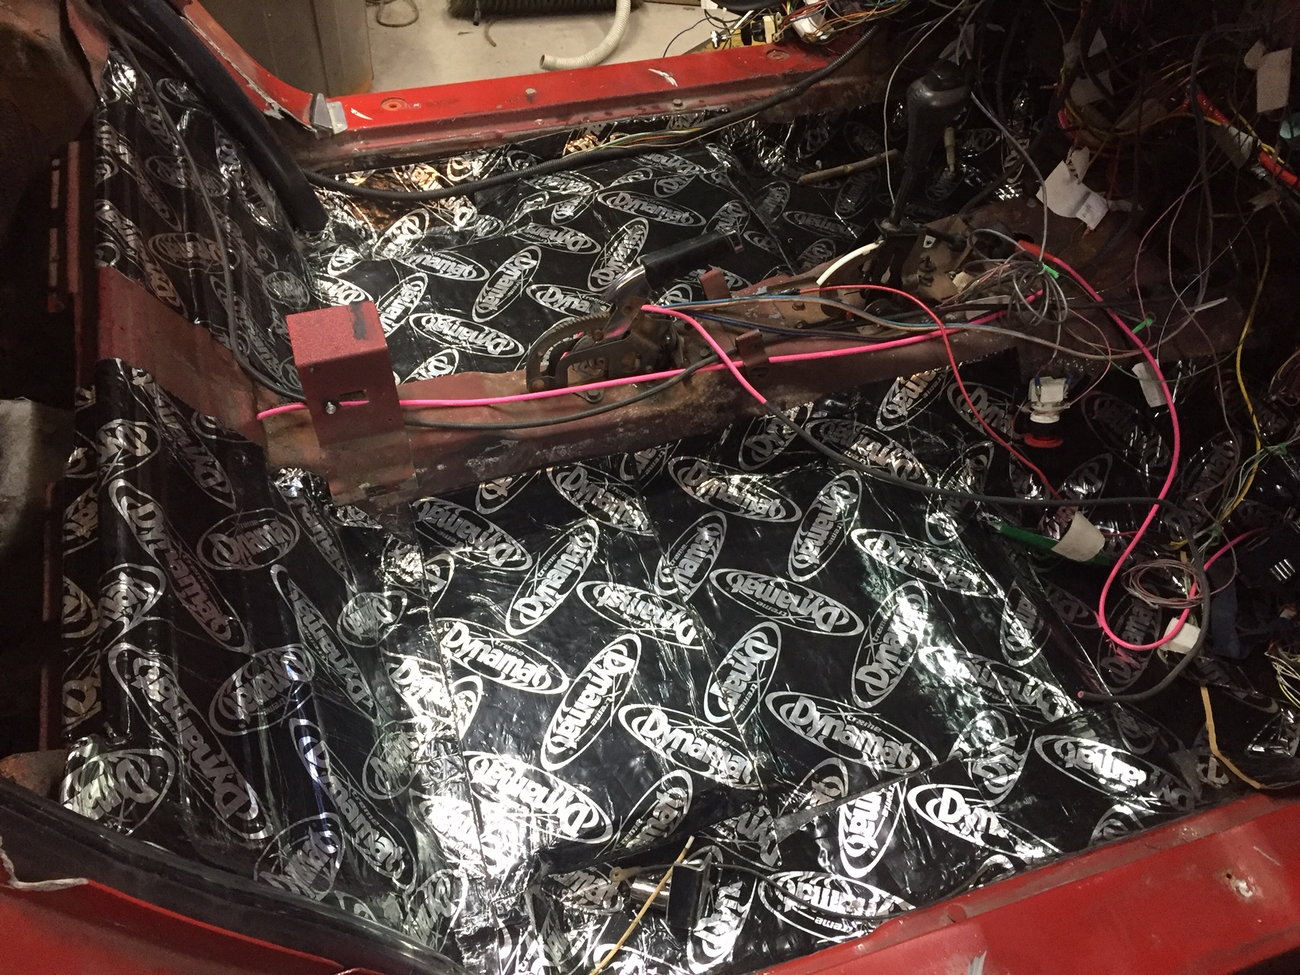
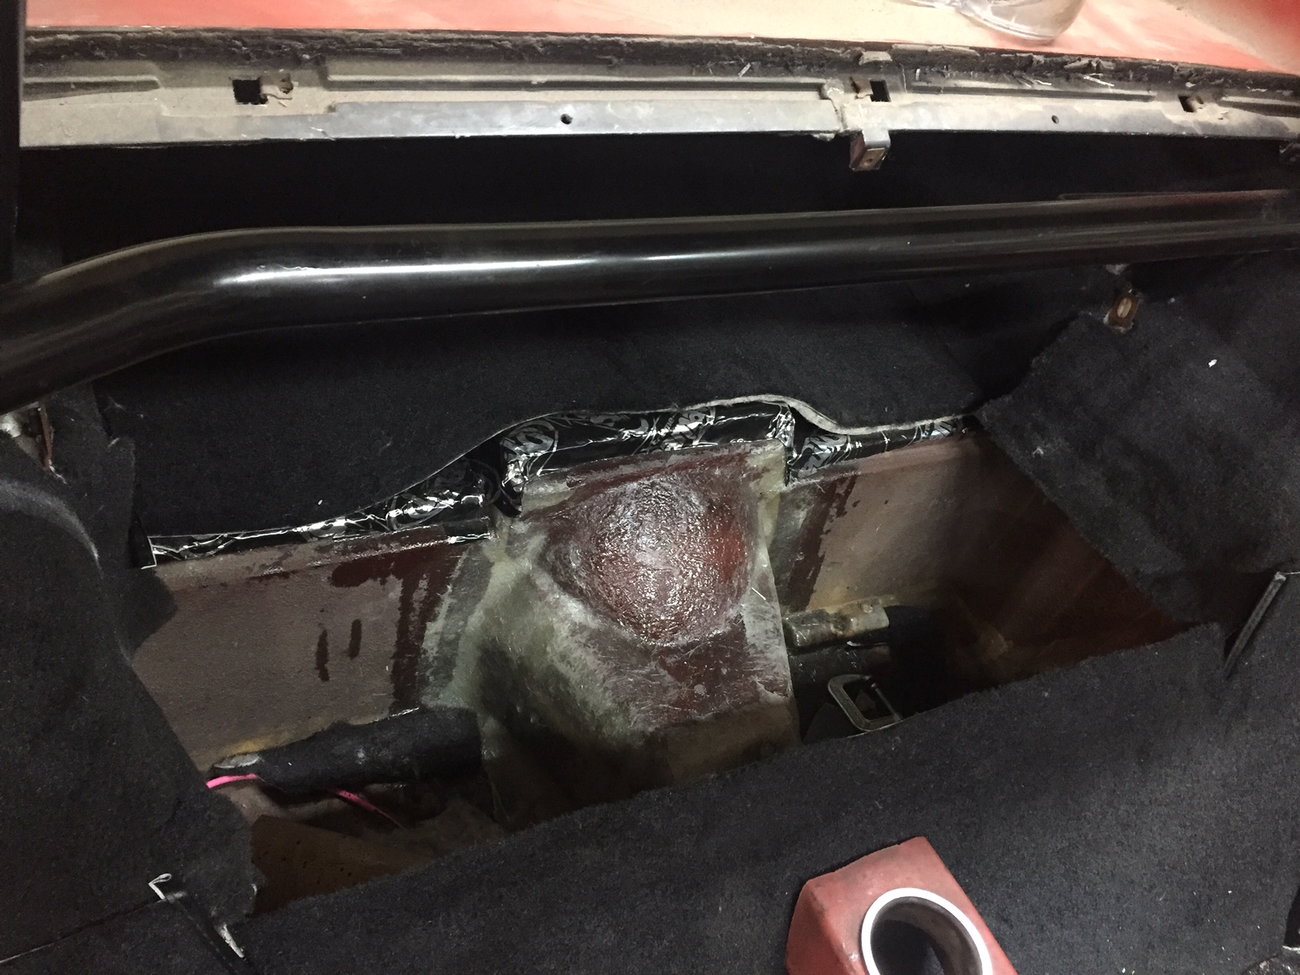
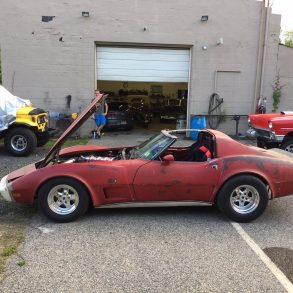
Patina is in, and I’ve got to say I’m loving the look, (although technically not Patina). Next up is the Dynamat installation.
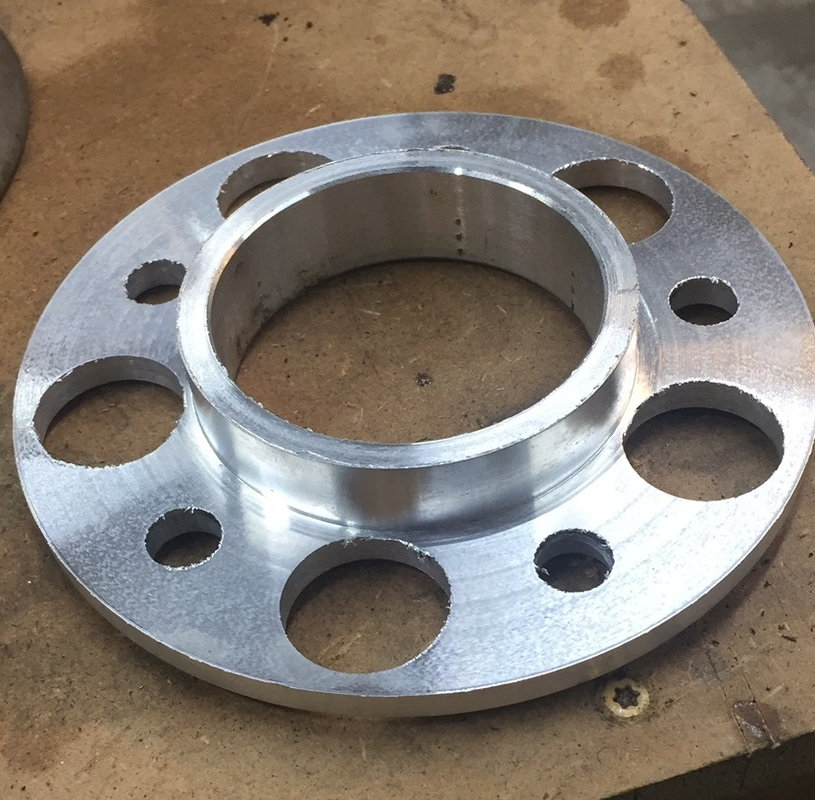
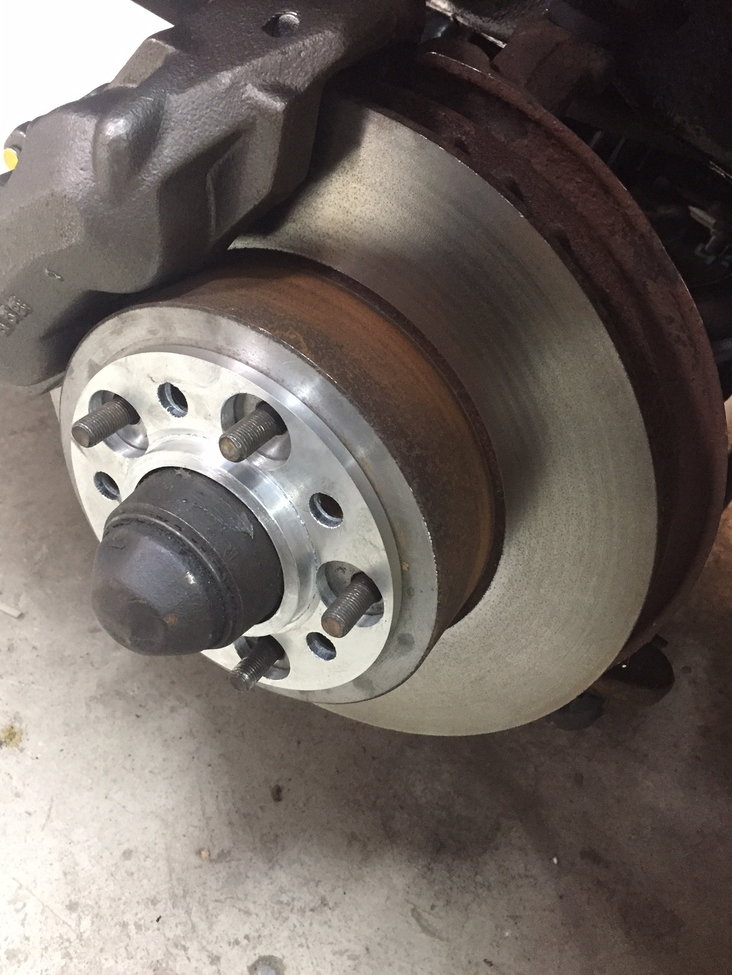
Now, onto one of my favorite subjects, wheels! Carl got a pair of 4.5″ setback JEGS Sport Star 15×8 wheels for the front to match the back ones, but they don’t make a 4″ setback, and the 4.5″ ones rubbed against the brake caliper. So Carl machined a pair of spacers he had lying around to a .300 hub-centric spacer.
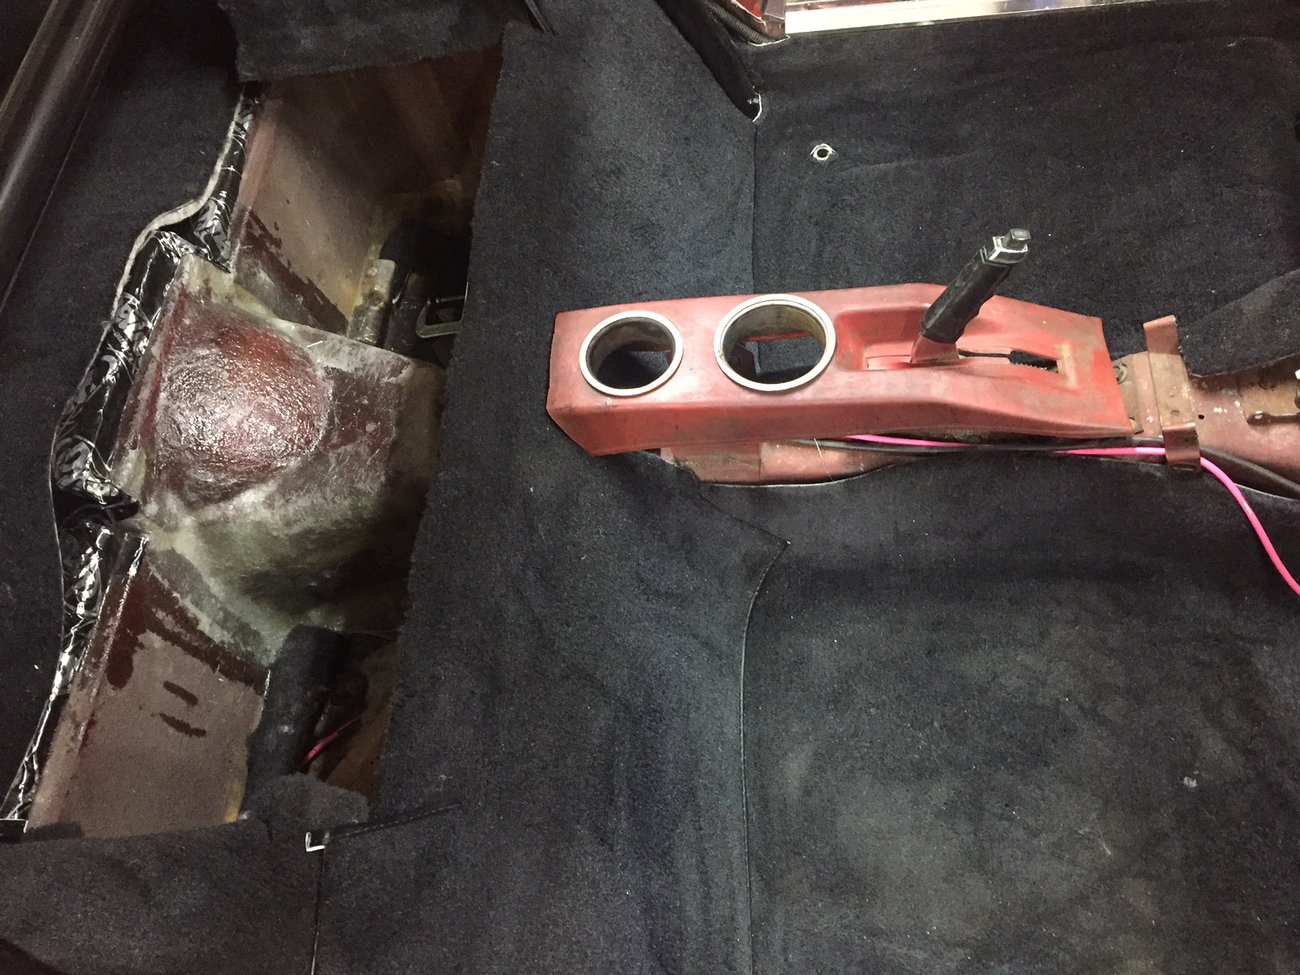
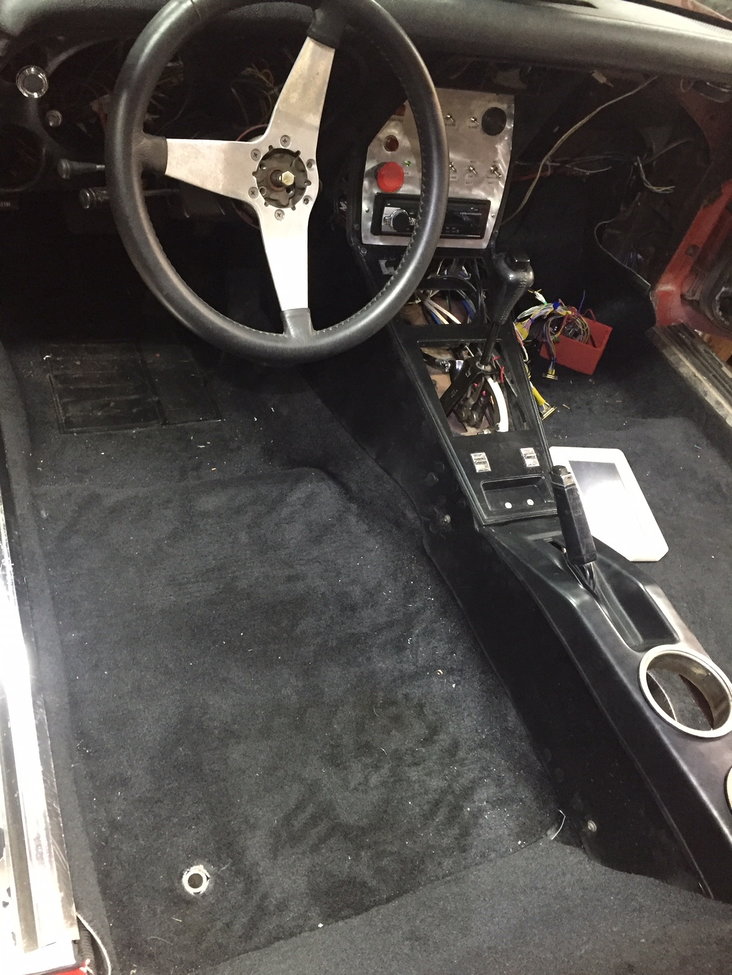
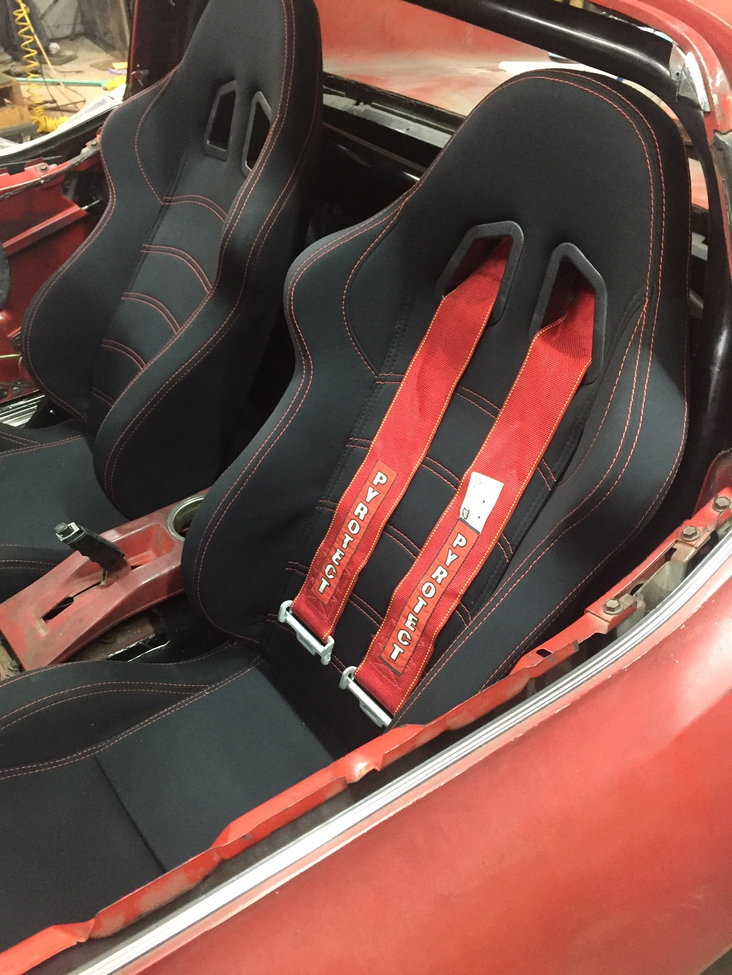
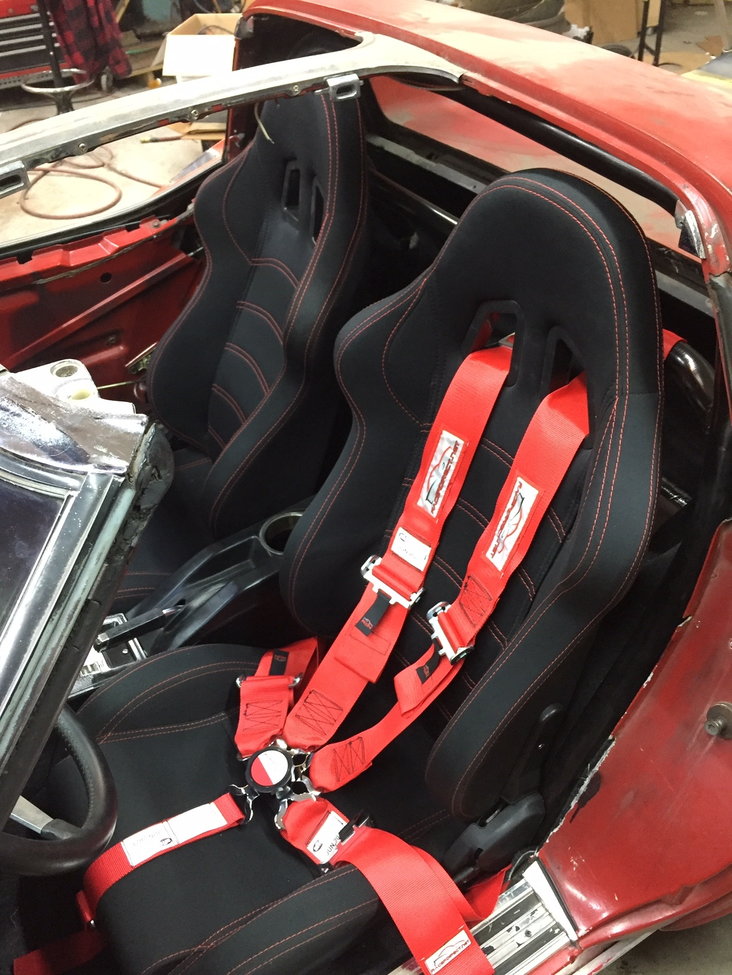
Next, Carl gets the seat back bar welded in and installs a carpet kit.
While he was at it, Carl made cupholders out of extra exhaust flanges he had lying around. Mad skills!
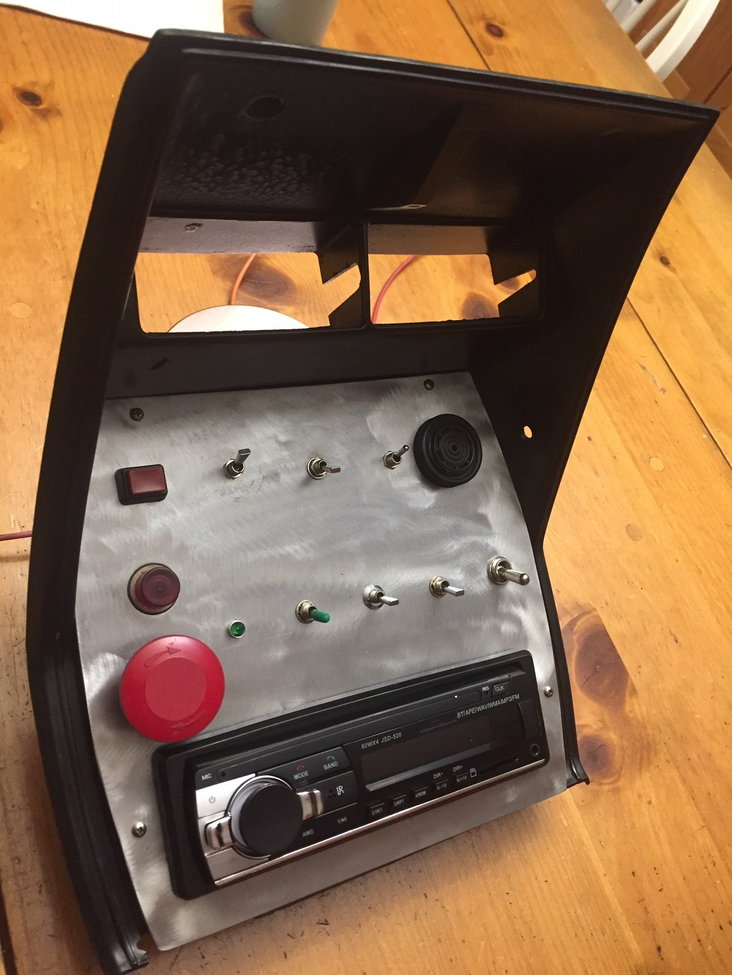
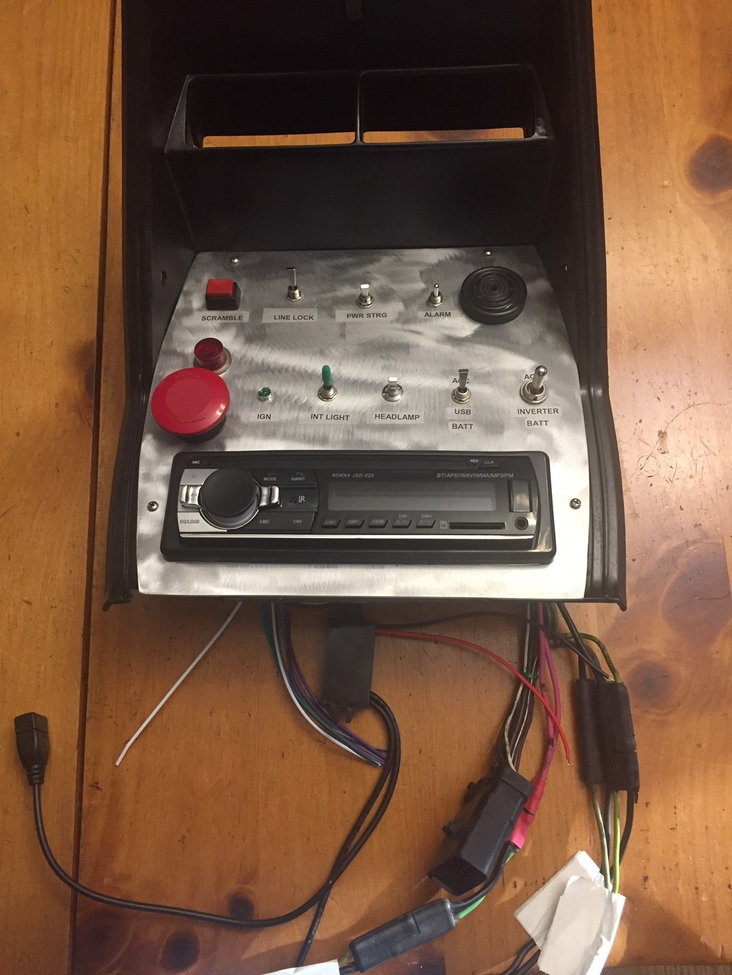
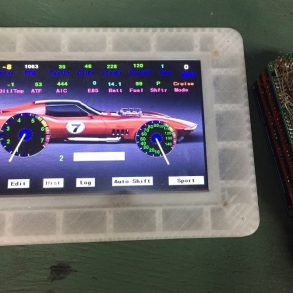
Since the Corvette will have no gauges, Carl is re-purposing the gauge cluster, and comments, “Switches include Line Lock, Scramble, Inverter Power, USB charger power, Power steering override, dome light, headlight override and some more.”
Next week is what Carl describes as a “major milestone”, so please stay tuned and check in to see what the big news is! We have the fastest-growing Corvette community on our Facebook page, with over 156,000 followers (37,000 since January!). Come join other hardcore enthusiasts and let me know what you think so far of Carl’s 10-second turbo build, Douglas B.


